Ingredients
For the Peach-Passionfruit Curd
- 2 large egg yolks (save egg whites to use in Swiss meringue buttercream – recipe below)
- 3 tbsp (45ml) honey or pure maple syrup
- ¼ C (60ml) pureed peach (from about 1 medium peach, de-skinned and pit removed)
- 1 tsp (10ml) fresh lemon juice
- Pinch sea salt
- 3 tbsp (43g) unsalted butter (can substitute coconut oil or ghee)
- Pulp from 2 fresh passionfruits (or about 2-3 tbsp of pulp)
For the Vanilla Swiss Meringue Buttercream
- 3 large egg whites (90g)
- ¾ C (140g) granulated sugar
- ½ C + 2-3tbsp (80g) confectioner’s sugar, sifted
- 1 C + 2 tbsp (256g) unsalted butter, softened at room temperature 1-2 hrs or 65f
- 2 tsp vanilla bean paste or pure vanilla extract
- Pinch sea salt
For the Gluten-Free Vanilla Cake Layers:
- 4 large eggs, separated
- 1 C (228g) unsalted butter, softened at room temperature 1-2 hrs or 65f
- ¾ C (140g) granulated sugar
- 1 1/3 C (130g) finely ground blanched almond flour (see headnotes)
- 2/3 C (90g) Bob’s Red Mill Gluten-Free 1-to-1 Baking Flour (see headnotes)
- 2 tsp baking powder
- Pinch sea salt
- 2 tsp vanilla bean paste or pure vanilla extract
Optional for garnish:
- Additional peaches (sliced) and fresh passionfruits (halved)
Instructions
Prepare the Peach-Passionfruit Curd (can be stored in tight container refrigerated for up to 1 week):
- In a small pot over low heat, heat and whisk all of the curd ingredients, except the passionfruit pulp.
- Increase the heat to medium-low when the butter has completely melted and simmer for 7-10 minutes, or until little bubbles appear, stirring constantly. Continue to stir until the mixture has thickened to the consistency of thin yogurt. A thermometer should read 170 degrees Fahrenheit.
- Strain into a basin using a strainer, then whisk in the passionfruit pulp. As the curd cools, it will thicken even more, reaching a pudding-like consistency. If you aren’t going to use it straight away, keep it refrigerated. Check to see if your curd is thick once it has cooled completely. It may flow through the cake layers if it is too thin, or it may cause your cake layers to be less solid once stacked if it is too thick.
- Return the curd to a double-boiler and repeat the process to finish cooking it. It’s also possible to do this while whisking in another egg yolk.
Prepare the Vanilla Swiss Meringue Buttercream (can be made 3-4 days ahead and stored in a cool room):
- In a large mixing basin, combine the sugar and the egg whites. Whisk sugar and egg whites over a double boiler, continually swirling and moving everything about, until the mixture reaches 115°F [update: the mixture can reach 160°F] or the sugar grains are entirely dissolved between your fingers.
- Fill the metal bowl of your stand mixer with the mixture and the whisk attachment. 4 minutes on high speed, whip until thick, glossy, and white (extremely firm peaks). Sift confectioner’s sugar in the meantime. Turn the stand mixer to the lowest speed and add the confectioner’s sugar all at once after the egg whites are done.
- Allow the sugar to settle for a few seconds before increasing the mixer speed to medium-high and whisking until everything is evenly combined.
- Add the room temperature butter in 2-tbsp pieces at a time until all of it is mixed while the mixer is still running on medium-high. Add the vanilla bean paste (or extract) to the mixture.
- Mix until everything is well blended. Switch to the paddle attachment and mix on medium-low speed for approximately a minute, or until the buttercream is lovely and smooth.
- The Swiss meringue buttercream may be kept for up to 4 days at room temperature.
- If the Swiss meringue buttercream curdles at any time, whisk it on high speed for as long as it takes to smooth it out again, which might be anywhere from 5 to 10 minutes. The quickest method is to use a hairdryer that is pointed perpendicularly at the mixing bowl while it is being whipped. Every time, it works like a charm.
Prepare the Gluten-Free Vanilla Cake Layers:
- Preheat the oven to 325 degrees Fahrenheit.
- Three 6″ round cake pans (or two 8″ round pans) should be lightly greased and/or lined with parchment paper.
- Combine the flours, baking powder, and salt in a large mixing bowl and set aside. In the mixing bowl of a stand mixer, cream the butter and sugar on medium speed for 5 minutes, or until light and fluffy. Separate the eggs. To the butter-sugar mixture, add the yolks and vanilla extract and beat for another minute.
- Mix in the flour mixture all at once on low speed until barely combined. Clean the stand mixer bowl completely with detergent and wipe dry before transferring the batter to a new bowl. Whip the egg whites until they form soft peaks. In a separate bowl, whisk together the egg whites and fold them into the cake batter.
- Using a spatula, evenly distribute the batter between the prepared cake pans. If preparing three 6″ cakes, bake for 25-30 minutes, or until a skewer inserted into the center comes out clean with only a few crumbs.
- Bake for 50-60 minutes, or until a spear comes out clean with only a crumb or two, if making two 8″ cakes. Because ovens vary so much, it’s always a good idea to check for doneness before serving to ensure the cake doesn’t overcook.
- Dry cake is almost often the result of overbaking. Cool the cakes in their pans for 5 minutes on a wire rack before removing them to cool completely.
- Before icing, make sure the cakes are completely cool.
Assemble the Cake:
- Scoop some buttercream into a piping bag and snip off the end to make a 34″ hole — you’ll just need to eyeball it to pipe rings around the inside border of the interior layer(s) to wrap the curd.
- Place the bottom cake layer on a serving plate or a cake stand. Spread approximately 12 cup buttercream evenly over a 6″ cake (more for an 8″ cake) with a spatula. Using buttercream, create a ring around the perimeter of the cake.
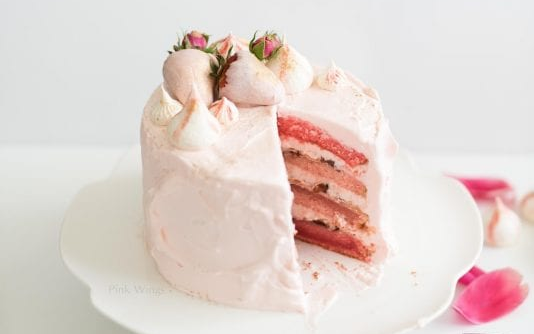
- Fill the middle of the ring with peach-passionfruit curd that has been totally chilled, about 14 cup for a 6″ cake layer, more for an 8″ cake layer. Place the second cake layer on top of the first, upside down, with the flat bottom facing up.
- Repeat for a three-layered cake, turning the last cake layer upside down so that the flat cake bottom faces upward.
- Using a spatula or icing smoother, frost the top and exterior of the cake with a thin layer of buttercream, filling in the gaps between the layers as required. The crumb coat is what it’s called.
- Refrigerate for 15 minutes before serving. Using the remaining buttercream, frost the whole cake, taking extra care to get a flawless finish.
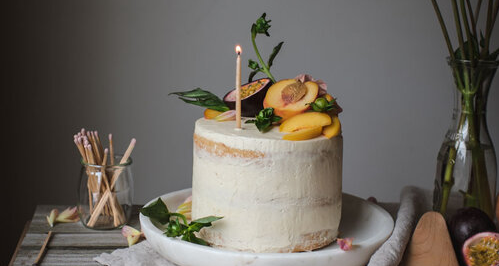
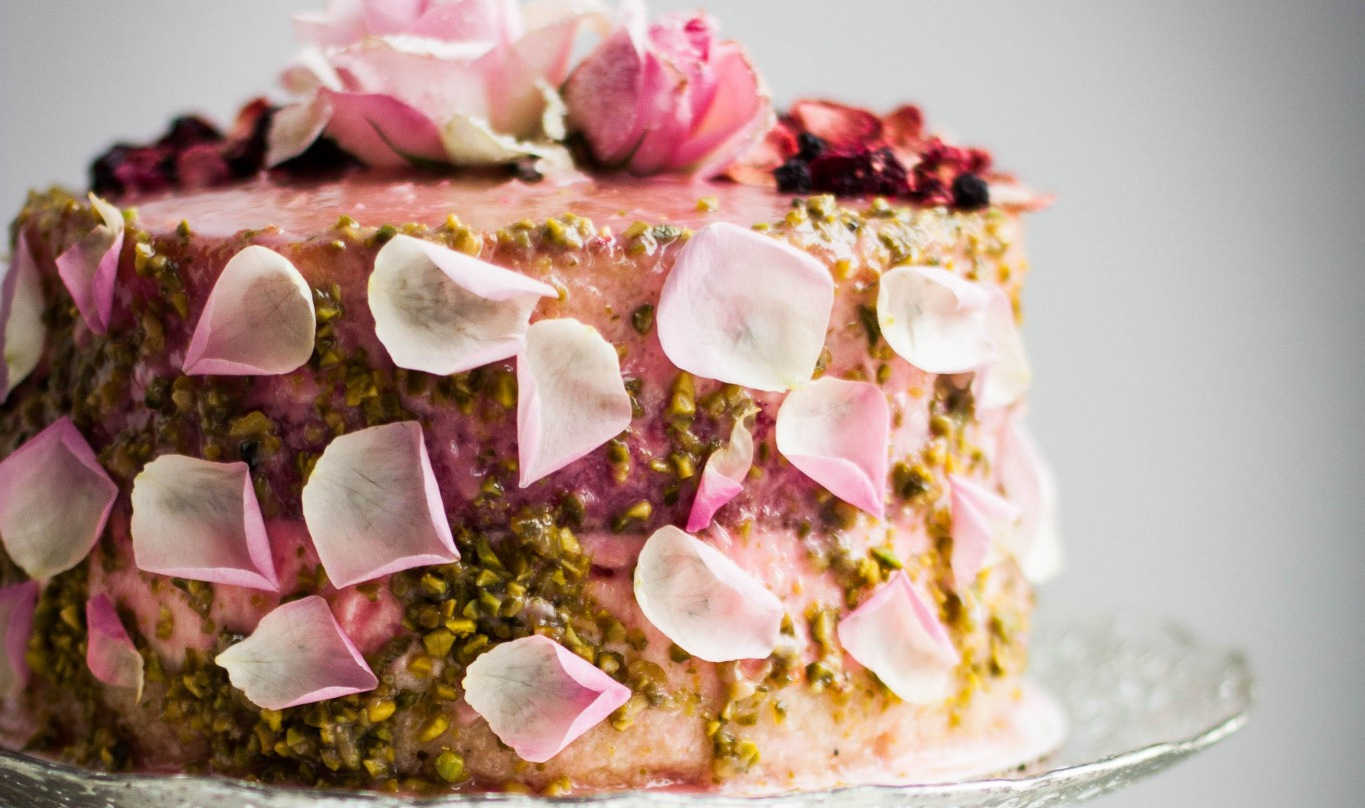
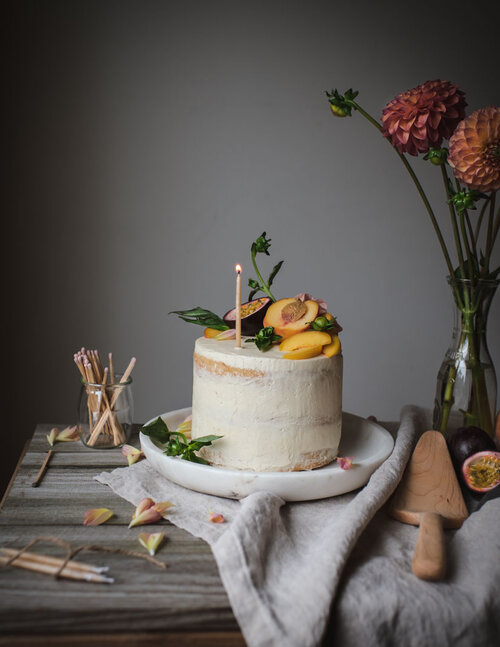
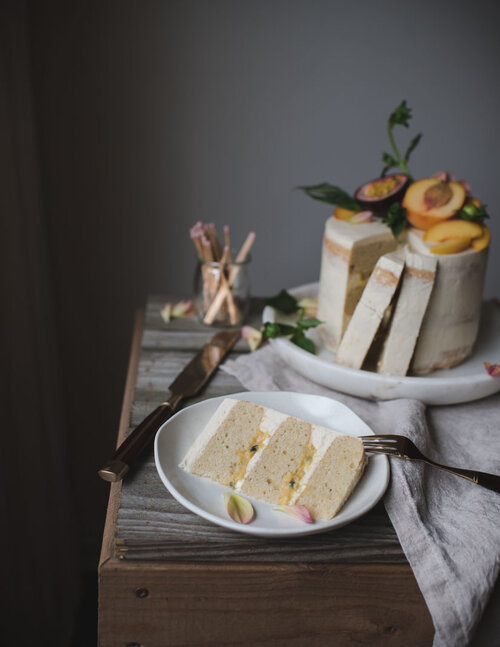
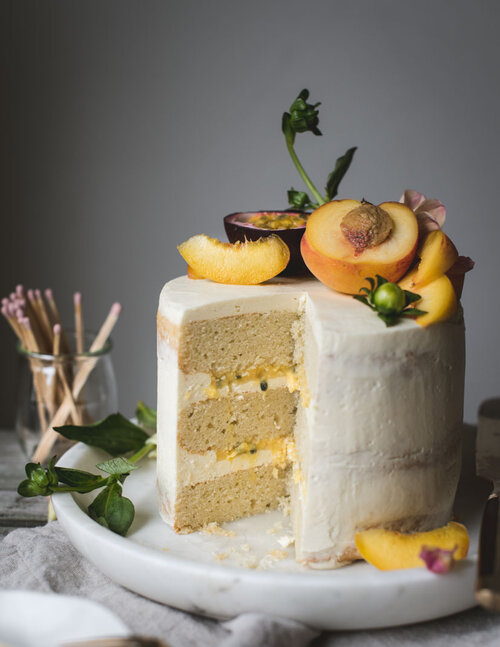
- If desired, decorate the cake with fresh peaches, fresh passionfruit curd, and flowers or petals. Dahlias were utilized.
Source: Saltnpepperhere
Don’t miss interesting posts on Famousbio

