The royal icing has become the star of the moment in cookie decoration. And it is that with this technique you can turn them into masterpieces.
As we have already told you in other articles, the royal icing or royal bitumen is a complex technique that takes several classes for you to become an expert; the key is to practice, read, learn and make everything look just as you imagine it.
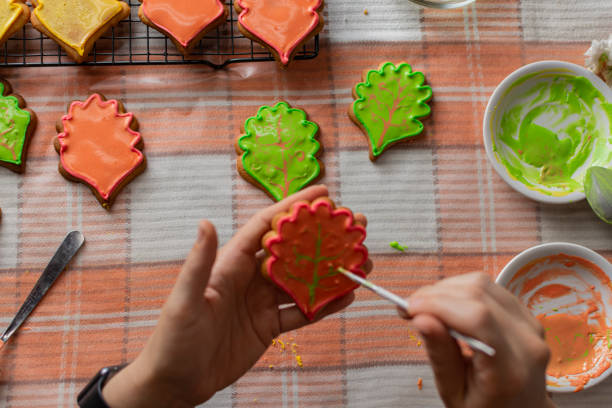
To decorate your cookies with royal icing
Once you have a basic mixture of icing sugar, egg white, and water ready, you will need the following:
- Kitchen film paper: to cover it once prepared so that it does not dry.
- Pastry sleeves: to fill them with the glass and decorate the cookies. You will need one for each color, so disposable ones are advisable.
- Nozzles or duyas: You will need a thin nozzle for the contours and to fill you can use a thicker and smoother one.
- Dyes in gel or paste: to give color.
- Small flat brush: to smooth the peaks that may remain in the contour lines
Let’s decorate!

The royal icing that we will use to apply on the cookies must be more fluid than the one you will use for the contours, this is achieved by using more sugar glass.
- Once the paste has acquired the hardest consistency, you must add drops of water and mix with a spatula, until when making a peak with the spatula, it disappears in about 5 or 6 seconds.
- Having the desired consistency, cover it with kitchen film paper and let it sit for half an hour.
- Run a spatula over the surface to remove air balls.
- Color the base paste of your cookie and let it dry for about an hour.
- Once the base is dry, fill a pastry bag with thick nozzle with the hardest royal icing, the first one you prepared.
- Rest the mouthpiece on the cookie with the sleeve at 45°. Press until the bitumen comes out. Cover the entire surface of the cookie.
- It does not matter if you do not cover everything, since then you will use a toothpick with circular movements to distribute it well.
- Let dry for an hour.
- To decorate, press the duya and lift a little. Continue to delineate with constant pressure.
- When you want to cut the line, stop pressing and rest the nozzle back on the cookie.
- To make the lines as precise as possible, make them in sections, for example first the left side of the cookie and then the right, and then with the brush moistened in water, tap the joints of the lines to smooth them.
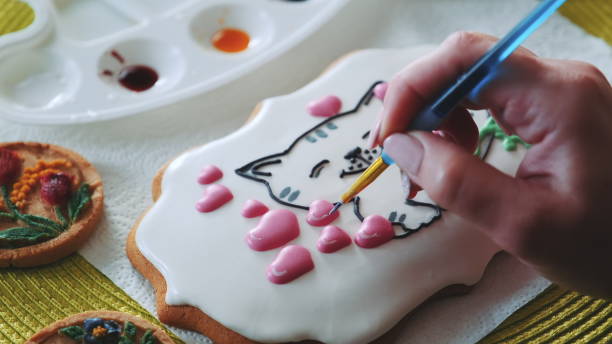
- These lines can be used to make drawings inside your cookie, although, as we explained in our first installment, it will take you a while to have the perfect pulse to get impeccable lines.
- Shake the cookie a little without lifting it from the table to level the glass and let it dry.
Don’t miss interesting posts on Famousbio

