🍪 Mosaic Velvet Oreo Cheesecake 🍰
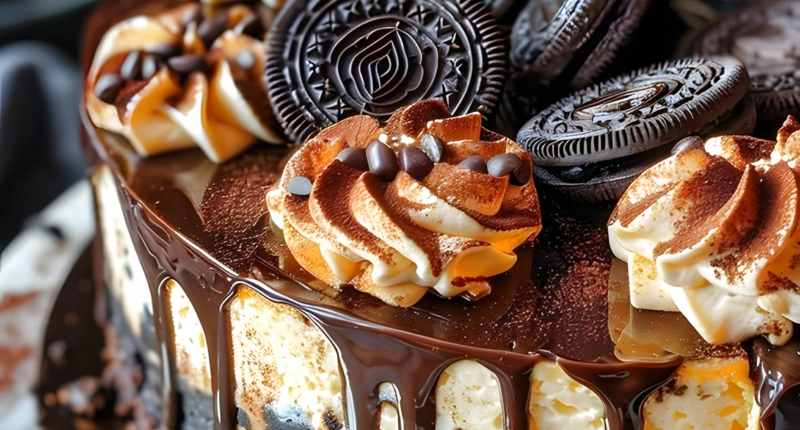
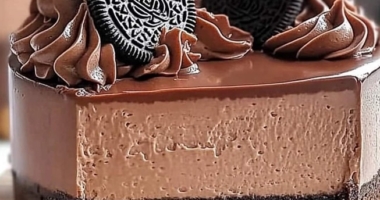
Introduction: Elevate your dessert game with this Mosaic Velvet Oreo Cheesecake! With a rich Oreo crust, velvety cheesecake filling, and a stunning red velvet swirl, this indulgent treat is as beautiful as it is delicious. Perfect for special occasions or when you want to impress, this cheesecake is a true masterpiece.
Ingredients:
For the Crust:
- 2 cups Oreo crumbs 🍪
- 1/4 cup unsalted butter, melted 🧈
For the Cheesecake Filling:
- 24 oz (680g) cream cheese, softened 🧀
- 1 cup granulated sugar 🍬
- 1 cup sour cream 🍶
- 1 teaspoon vanilla extract 🍦
- 3 large eggs 🥚
- 2 tablespoons cocoa powder 🍫
- 1 teaspoon red food coloring 🌹
- 1/2 cup crushed Oreos 🍪
For the Drip:
- 1 cup semi-sweet chocolate chips 🍫
- 1/2 cup heavy cream 🥛
For Decoration:
- Whipped cream 🍰
- Mini Oreos 🍪
- Red velvet cake crumbs 🍰
- Sprinkles
Instructions:
- Preheat Oven:
- Preheat your oven to 325°F (163°C). Grease a 9-inch springform pan.
- Prepare the Crust:
- In a bowl, mix Oreo crumbs with melted butter. Press the mixture into the bottom of the prepared pan.
- Bake for 10 minutes, then let cool.
- Make the Cheesecake Filling:
- Beat the cream cheese until smooth. Add granulated sugar and mix well.
- Incorporate sour cream and vanilla extract. Add eggs one at a time, beating well after each addition.
- Mix in cocoa powder and red food coloring until evenly combined.
- Fold in the crushed Oreos gently.
- Assemble and Bake:
- Pour the cheesecake batter over the cooled crust, spreading evenly.
- Bake for 60-70 minutes, or until the center is set and the edges are lightly browned.
- Turn off the oven and let the cheesecake cool in the oven with the door slightly open for 1 hour.
- Chill the Cheesecake:
- Refrigerate the cheesecake for at least 4 hours or overnight before removing it from the pan.
- Prepare the Drip:
- In a microwave-safe bowl, heat semi-sweet chocolate chips and heavy cream in 30-second intervals, stirring until smooth.
- Add the Drip:
- Drizzle the chocolate ganache over the edges of the cheesecake, allowing it to drip down the sides.
- Decorate:
- Top with whipped cream, mini Oreos, red velvet cake crumbs, and sprinkles for a stunning finish.
Tips for Success:
- Use Room-Temperature Ingredients: This ensures a smooth and creamy cheesecake filling.
- Prevent Cracks: Bake the cheesecake in a water bath or place a pan of hot water in the oven to create steam.
- Chill Completely: Allow the cheesecake to chill overnight for the best texture and flavor.
FAQs:
Q: Can I make this cheesecake ahead of time? A: Yes! This cheesecake can be made up to two days in advance and stored in the refrigerator.
Q: How do I prevent the ganache from hardening too quickly? A: Let the ganache cool slightly before drizzling to maintain a smooth and glossy finish.
Q: Can I substitute the red food coloring? A: You can use natural red beet powder or omit the coloring for a cocoa-colored cheesecake.
Q: How do I store leftovers? A: Store in an airtight container in the refrigerator for up to 5 days.
Don’t miss interesting posts on Famousbio

